“`html
Why Winterization Matters for Cruising Diesels
Winterizing a trawler diesel engine properly—honestly, it sounds like something you knock out one weekend. It’s not. Get it wrong and you’re looking at a $3,000 fuel system rebuild come spring instead of a smooth restart. I learned this the hard way after my first winter layup in Michigan. My Perkins 4-108 wouldn’t turn over in April because condensation had accumulated inside my 80-gallon fuel tank to the point where everything was compromised.
Diesel engines face specific threats during winter storage that gasoline engines don’t encounter. Fuel gelling—that waxy solidification when ambient temperatures drop below the cloud point—is the obvious one. But that’s only part of the story. If you cruise the Great Loop and season between Northern and Southern rivers every year, you know this intimately. Three real killers are sitting there waiting: fuel degradation, water accumulation, and corrosion inside the engine block itself.
Water gets into fuel tanks constantly. Every time your engine cools after running, the air space inside contracts and draws in humid ambient air. Stretch that out over a four-month layup and you’re essentially inviting moisture to set up permanent camp. Left untreated, that water separates at the bottom of the tank — where your fuel pickup sits — and creates the perfect breeding ground for diesel bug (microbial growth) and injector fouling.
Corrosion inside cylinder walls and valve components accelerates when your engine sits idle in cold, humid storage. The protective film that fresh oil maintains gets thinner with each passing month. Probably should have opened with this section, honestly — because once corrosion starts, you’re not just winterizing anymore. You’re doing remedial engine work that costs real money.
Drain and Replace Your Engine Oil and Filter
Start with a full oil and filter change while the engine is still warm. Warm oil drains faster and carries out more suspended particles and water that’s been condensing inside.
The weight matters more than most cruisers realize — maybe more than anything else, actually. If you’re wintering in climates where temperatures drop below 20°F, you need to shift your oil viscosity. I typically run 15W-40 during summer cruising, but for extended winter layup in the Northeast, I switch to 10W-30. Check your engine manual — Perkins, Yammer, and Cummins all publish cold-weather specifications. Some newer displacement engines can handle 5W-30 without sacrificing summer protection.
Here’s what you actually do:
- Locate the drain plug (usually underneath the sump, accessible from below). Place a drain pan underneath — used diesel engine oil isn’t something you dump in your bilge.
- Remove the plug and let it drain completely. Be patient. This takes 10-15 minutes if you’re not rushing.
- While draining, unbolt the spin-on filter. Use an oil filter wrench if the previous owner cranked it on with a gun. Turn it counterclockwise slowly and let the remaining oil drain into your pan.
- Clean the filter mounting surface with a rag.
- Apply a thin coat of new oil to the rubber gasket on your new filter — just enough to wet it.
- Thread the new filter on hand-tight, then rotate it another three-quarter turn. You’re not running a diesel truck doing curb checks; don’t overtighten this thing.
- Reinstall the drain plug and torque it to spec (usually 15-25 ft-lbs depending on engine — check your manual, don’t guess).
- Fill with the new, cold-climate weight oil through the filler cap on top of the engine. Pour slowly to avoid overfilling.
- Run the engine for 30 seconds to circulate the new oil, then check the dipstick. The level should sit between the min and max marks.
Dispose of the old oil properly. Most marinas and fuel docks have collection drums for this. Don’t leave it sitting in five-gallon buckets in your shed — old diesel engine oil oxidizes and becomes hazardous over time.
Treat Your Fuel Tank and Fuel System
This is where most winterization plans fall apart. People drain their tanks — which makes sense on the surface — but then leave them empty and open to condensation all winter. Wrong move. A sealed tank full of fuel that’s been treated is infinitely better than an empty tank breathing humid air for months.
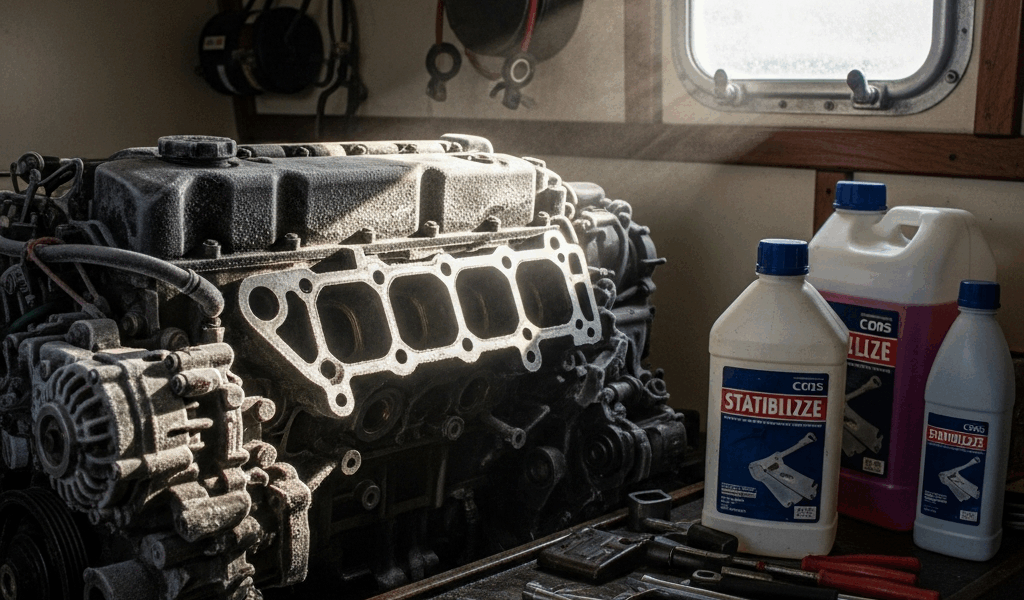
First, add a diesel fuel stabilizer. I use Biobor JF at a ratio of 1 ounce per 10 gallons of fuel. If you suspect your tank has water (and layup-season tanks almost always do), add a fuel water removal product first. Aqua-Pure or similar products precipitate free water so it sinks to the bottom where you can drain it out through the fuel valve. Let it sit for 24 hours before starting the engine.
If your fuel has been in the tank for more than six months before winterization, consider changing it entirely. Old diesel doesn’t store well beyond that window, regardless of additives. I’ve had to replace 60 gallons of winter-degraded fuel for $180, which stings, but it beats injector replacement at $400 per injector.
Sludge buildup on the bottom of the tank is common after layup. When you restart in spring, that sludge gets drawn toward the fuel filters and engine. Before winterizing, run a fuel system cleaning treatment through the tank using a portable fuel tank suction unit, or take the boat to a yard that offers fuel polishing services ($150-$250). It’s not mandatory, but it’s smart insurance.
Flush and Protect Your Cooling System
Your cooling system — whether it’s raw water (saltwater), heat exchanger (freshwater), or a combination — needs different protocols depending on what you’ve got running.
For raw water cooling systems, flush with fresh water thoroughly to remove salt deposits and scale. Start the engine and run fresh water through the intake for five minutes at idle. This is the only time you want to run your engine in the winterization process besides the 30-second oil circulation check.
For closed-loop freshwater systems (which most cruising trawlers use because they’re easier on the engine), drain and refill with new coolant. I prefer a 50/50 mix of quality coolant (Prestone or equivalent) and distilled water. In climates where temperatures drop below -10°F, some owners go 60/40 coolant to water, but check your engine manual because too much glycol can create issues with heat transfer.
When you drain the system, open the petcock (small drain valve) on the block itself. Some coolant stays trapped inside cylinder passages if you only drain through the lowest valve. Fill slowly, starting at the filler cap on top, until coolant flows out of the petcock, then close it.
If you’re wintering in really cold climates — Minnesota, Canada, the Northern Great Lakes tier — consider draining the entire system completely instead of winterizing it. A bone-dry cooling system can’t freeze and crack your block. Sounds extreme, but it’s standard practice for boats that stay out of water all winter.
Fog Your Engine or Use Fogging Oil
Engine fogging creates a protective film inside cylinders and valve passages, preventing corrosion during layup. Fogging works by injecting a fine mist of oil-based compound directly into the intake manifold while the engine idles.
To fog a diesel trawler engine: Remove the air filter intake tube. Start the engine and let it idle. Spray fogging oil (Yamaha, Quicksilver, or Mercury brands all work for diesels despite the brand names) directly into the open intake. The engine will smoke and sputter — that’s exactly what you want. Spray for 30-45 seconds until the engine starts to labor, then kill the ignition. The fogging oil coats everything on the way down.
Some cruisers skip fogging because they’re uncomfortable with the process or prefer not to inhale the smoke cloud. That’s fine. Switching to synthetic oil (which I do) and running the engine for 10-15 minutes mid-winter — if your storage setup allows it — gives you a similar protective benefit. The protective film refreshes, condensation evaporates, and you’re back to baseline.
Storage temperature and humidity matter more than most people admit. A boat stored indoors in climate-controlled space with consistent 45-55°F temperatures will need less fogging than one sitting outside where temperatures swing from 35°F to 60°F weekly. Those temperature swings cause moisture migration into the engine.
Check Battery and Electrical Systems
Your starting battery loses 20-30% of its cold cranking amp capacity just sitting in winter cold. A fully charged battery at 70°F delivers its rated power; at 32°F, expect 50% of that output.
Before layup, charge the battery fully and disconnect the negative terminal. This stops parasitic drain from the house electrical system (autopilot memory, clock, bilge pump float switches) over four months. A disconnected battery loses charge slowly anyway, but it won’t be drained by background systems.
If you’re storing the boat in a climate-controlled space, you can skip the disconnect. If you’re leaving it outside in cold, disconnect it. Check the charge state monthly (a simple multimeter reading takes 20 seconds) and recharge if the voltage drops below 12.4 volts.
Don’t overthink the rest of the electrical system. Winterization isn’t the time for a full electrical audit. Just visually inspect starter connections and alternator belt tension before layup. That’s it.
“`


Stay in the loop
Get the latest passage maker mag updates delivered to your inbox.